Embroidery Digitizing Essentials: Tools, Tips, and Best Practices
Introduction
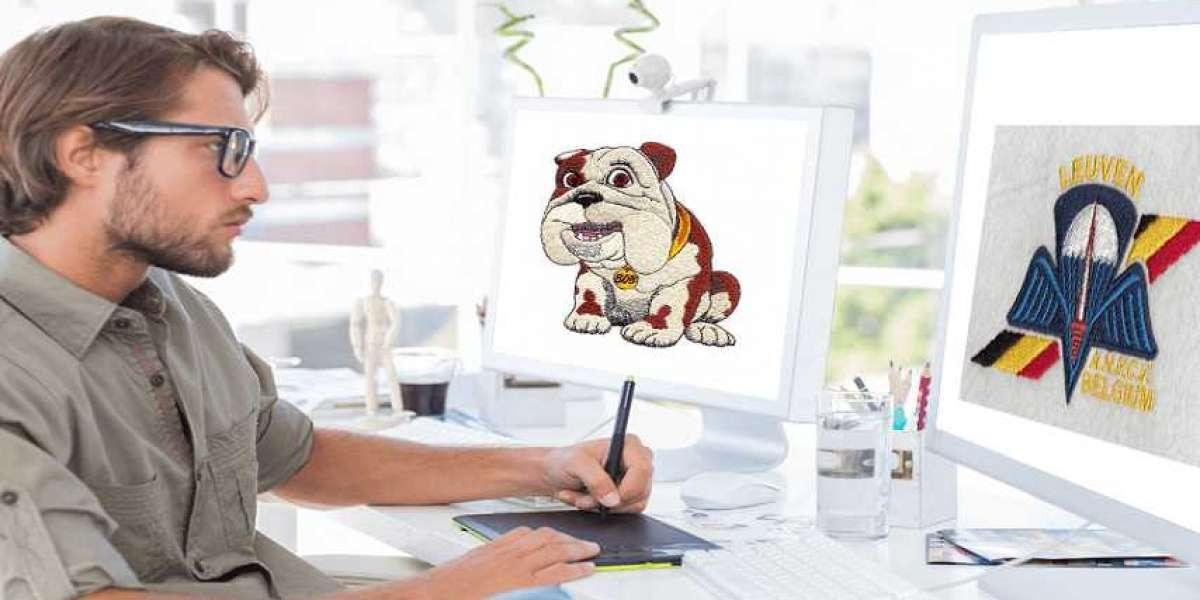
So you have a brilliant design and an embroidery machine ready to bring it to life. You load an image file, hit start, and watch in dismay as the needle creates a tangled, puckered mess. This common frustration highlights a universal truth in machine embroidery: the machine is an incredibly precise tool, but it only follows orders. The quality of those orders—the digital instructions telling the needle exactly where to go and what to do—determines everything. Creating those instructions is the craft of Embroidery Digitizing. It's the essential, behind-the-scenes process of translating artwork into a language of stitches. Whether you're a curious hobbyist or a business owner looking to understand the craft, grasping the essentials of digitizing—the right tools, the insider tips, and the non-negotiable best practices—is the key to unlocking consistent, professional results and leaving those frustrating failures behind.
The Non-Negotiable Toolkit
You can't build a house without a hammer, and you can't digitize without the right software. This is your foundational investment.
1. Digitizing Software: This is your primary workspace. General graphic design programs like Adobe Illustrator won't cut it; you need software built specifically to create stitch paths. Your options include:
-
Beginner & Hobbyist Tiers: Programs like Embrilliance Essentials or the entry level of Hatch Embroidery offer a gentler learning curve and are perfect for starting out.
-
Professional-Grade Software: Industry standards like Wilcom EmbroideryStudio or the higher tiers of Hatch offer powerful tools for complex designs and production workflows. Most offer free trials, which are invaluable for testing.
-
A Critical Note on "Auto-Digitize": Nearly all software has an auto-convert function. Use it as a starting point for simple shapes only. Relying on it entirely will lead to the same poor results as online auto-converters—it lacks the understanding of fabric and structure that defines true digitizing.
2. A Capable Computer: Digitizing software can be processor-intensive, especially when rendering complex designs with thousands of stitches. A computer with a solid CPU (like an Intel i5 or better), at least 8GB of RAM (16GB is ideal), and a solid-state drive (SSD) will save you from constant lag and crashes, making the learning process much smoother.
3. Quality Source Artwork: Your final stitch file is only as good as the image you start with. Whenever possible, use vector files (.AI, .EPS, .SVG). These are made of mathematical paths, not pixels, so they scale perfectly and give the software clean lines to trace. If you only have a raster image (.JPG, .PNG), ensure it is high-resolution (300 DPI) with crisp, high-contrast edges.
4. Your Embroidery Machine & Hoops: This is your testing lab. You will constantly stitch out your designs to see how your digital plans perform in reality. Having a variety of hoop sizes allows for flexibility in testing and final projects.
Core Principles: Adopting the Digitizer's Mindset
Before you click your first tool, internalize these fundamental concepts. They separate technical tracing from intelligent creation.
-
You Are an Engineer, Not Just a Tracer: You're not copying a picture; you're building a structure with thread on fabric. Every decision must consider stability, tension, and the physical interaction between materials.
-
Fabric is Your First Consideration: Always ask, "What am I stitching this on?" A file for a sturdy denim jacket is engineered completely differently than one for a stretchy t-shirt. There is no universal file.
-
Think in Layers and Sequence: Imagine building a sandwich. You don't start with the top piece of bread. In digitizing, you program the stitches that will lay on the bottom first (backgrounds), then sequentially build up to the top layers (foreground details). This ensures everything sits correctly.
Step-by-Step Best Practices for a Professional Foundation
Follow this workflow to build strong habits from your very first design.
1. Artwork Preparation is Key
Start simple. Choose a design with clear shapes and minimal colors. Open it in a basic image editor to increase contrast, clean up stray pixels, and simplify overly complex areas. This 10-minute step saves an hour of frustration in your digitizing software.
2. Set Your Digital Canvas
Create a new file in your digitizing software and import your prepared artwork. Immediately set your hoop size and the target dimensions for your embroidered design. Accuracy here is crucial—digitizing at one size and then resizing later will distort all your careful stitch calculations.
3. Manual Outlining & Object Creation
This is the heart of manual digitizing. Use the software's drawing tools (like the Bezier tool) to manually create an outline around every distinct shape in your design. Create each shape as a separate "object." This gives you individual control over every element. Start with background objects and work to the foreground.
4. Strategic Stitch Assignment
Now, give life to those outlines by filling them with stitches. This is where your artistic and technical choices merge.
-
For Large Areas: Apply a Fill Stitch. Adjust the density (stitches per inch) and change the angle/direction of the stitches to add visual texture and prevent a monotonous look.
-
For Text and Borders: Apply a Satin Stitch (or Column Stitch). You will control the width and the stitch length (shorter for curves, longer for straightaways) to keep edges smooth.
-
For Fine Details: Use a Run Stitch. This is a simple line of stitching, perfect for delicate outlines.
5. The Secret Weapon: Applying Underlay
Never, ever skip this. Underlay is foundational stitching that sews before your top stitches (the fill, satin, or run stitches you just assigned). It has two critical jobs:
-
To stabilize the fabric, locking it down to prevent puckering.
-
To create a raised base, making the top stitches look fuller and more professional.
For most fill areas, start with a simple Edge Run or Zig-Zag underlay. It is the most important step for a clean, flat sew-out.
6. Mapping the Stitch Sequence
Use your software's object manager or timeline view to check the order of operations. The machine should stitch objects from the bottom layer up and minimize color changes. A logical sequence reduces thread trims, jump stitches, and production time.
7. The Golden Rule: Test Stitch on Actual Fabric
Your work is not done when you save the file. It's only done after a successful test. Hoop up a scrap of the exact fabric you plan to use for the final product. Stitch the design. This reveals how your digital choices interact with real-world physics.
Pro Tips to Elevate Your Skills
-
Start with Lower Density: It's easier to add stitches after a test than to remove them. A starting density of 4.0-5.0 stitches per inch (SPI) is safe for many apparel fabrics.
-
Master Pull Compensation: Learn how to slightly oversize shapes in your software to counteract thread pull. This keeps circles round and corners sharp.
-
Keep a Project Journal: Note what settings worked. "Fleece hoodie: Density 4.2 SPI, Zig-Zag underlay, no puckering." This builds your personal knowledge base faster than any tutorial.
-
Embrace the Process: Your first designs won't be perfect. Each test stitch, even a failed one, is a vital lesson. Analyze what went wrong (puckering? distortion?) and research the specific fix.
Conclusion
Embroidery Digitizing is a deeply satisfying craft that sits at the intersection of art and engineering. By assembling the right tools, adopting a mindset focused on structure and fabric, and diligently following a workflow built on best practices—like manual outlining, strategic underlay, and mandatory testing—you build an unshakable foundation for quality. This journey transforms you from someone who hopes a design works into the person who engineers it to succeed. Remember, every professional digitizer started with a first, imperfect file. Embrace the learning curve, let each stitch teach you, and enjoy the profound satisfaction of seeing your meticulously crafted digital plans become a tangible, beautiful reality. Your machine is ready. Now you have the essential knowledge to give it perfect instructions.