


How to Set Up Google Tag Manager in Minutes
Have you ever wondered how websites seem to know exactly what you clicked, where you scrolled, and which button tempted you to take action? It's not magic. It's often thanks to Google Tag Manager (GTM). You're not alone if you've heard the term but felt a little intimidated by it. Setting it up sounds technical, but the truth might surprise you: it's way easier than you think!
What Is Google Tag Manager, Anyway?
In simple words, Google Tag Manager is a free tool that lets you manage and add "tags," which are snippets of code to your website without touching the main website code every time. It is a neat, handy box storing all your tracking codes. Without GTM, you must email your developer each time you want to add a tracking code and then wait. With GTM, you can add the tracking code safely and quickly without worrying about breaking anything. It's like putting the steering wheel back in your hands.
Why You Should Care About Setting It Up
Setting up Google Tag Manager is like giving yourself remote control over your website's tracking. You get to add or change things whenever you want without waiting for someone else. Is it worth the effort? Here's a little story. When I first heard about GTM, I thought, "This sounds too technical." I delayed setting it up for months. But once I finally tried, it took me less than 15 minutes. I felt silly for waiting so long. It saved me so much back-and-forth with my developer and allowed me to track whatever I wanted. Wouldn't you like that kind of control, too?
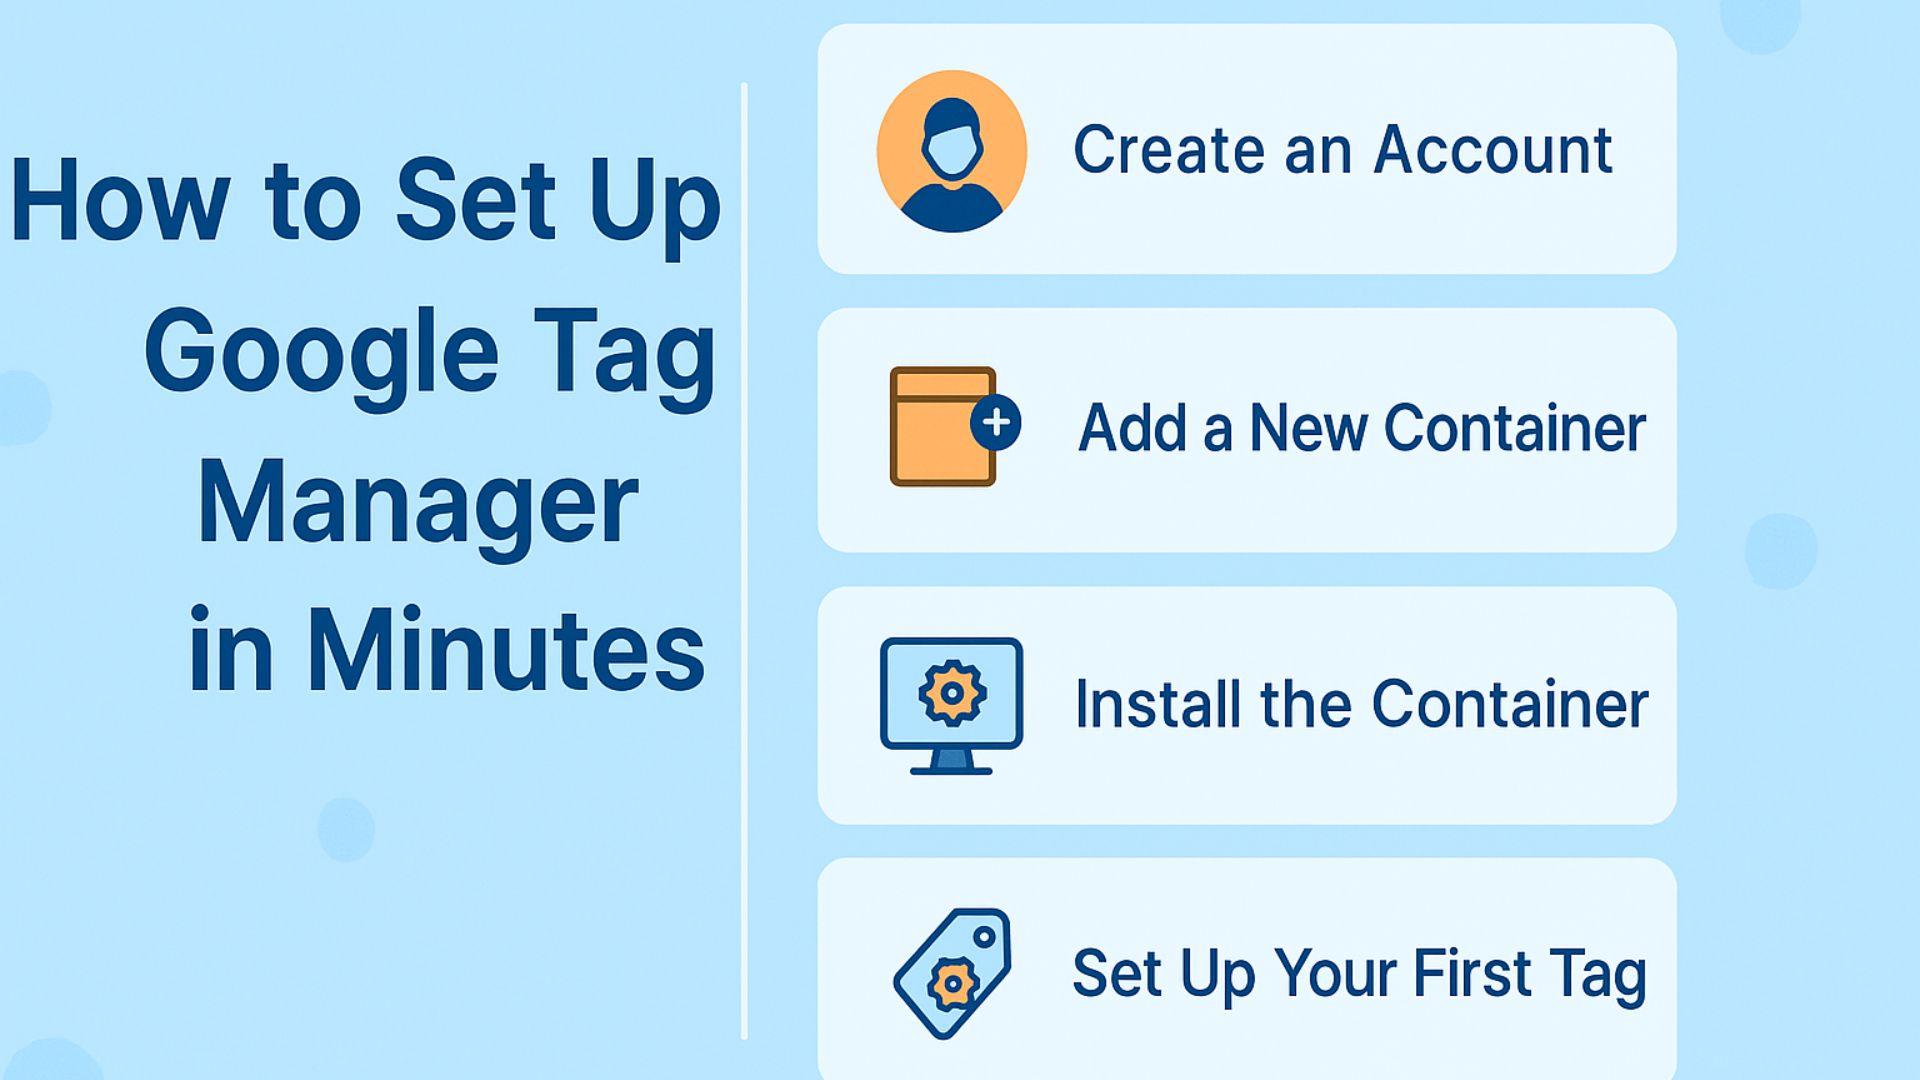
Setting Up Google Tag Manager Step-by-Step
Create a Google Tag Manager Account
First, head over to tagmanager.google.com. Once there, you'll spot the "Create Account" button that gets you started. Fill in your account name, usually your business or website name, select your country, and punch in your website URL. Choose "Web" as your target platform and click "Create". It's that simple. The process is guided with clear instructions at every step, so you won't feel lost. Accept the terms and conditions, which is the least exciting but necessary. You've officially created your Google Tag Manager account and are ready for the next step. You're already ahead of most people!
Install the GTM Code on Your Website
Once you create your account, GTM will give you two small pieces of code. If you're using a CMS like WordPress, plugins can easily add these codes without touching any raw files. I remember the first time I did this; I kept refreshing my site, scared I would break something. But nothing went wrong. It felt like a small personal win, which you can easily experience.
Set Up Your First Tag
After the code installation, it's time to have a little fun by creating your first tag. Click on "Add a new tag" inside GTM, give it a simple name like "Google Analytics Pageview," and choose your tag type. For beginners, setting up Google Analytics is a smart first move. You must also create a trigger that tells GTM when to fire the tag, like when someone loads a page. After selecting the settings, click "Save." It sounds technical but becomes very natural once you walk through the screens. Every click will boost your confidence.
Preview and Test
Before you publish anything, you must test what you've built. GTM has a "Preview" feature lets you check if your tags are working before showing them to the real world. This helps you catch mistakes without guessing. I remember forgetting to set a trigger and scratching my head for hours. Testing saves you from such minor slip-ups that could otherwise waste time. Always, always preview your changes before publishing.
Publish Your Workspace
If the preview looks good, it's time to make it official. Click the "Submit" button, add a version name like "First Setup" so you know what changes you made, and hit "Publish." Congratulations, your Google Tag Manager is now live and working! You have just taken control of your website's tracking abilities without hiring an expensive developer. It's a satisfying feeling to know you did this yourself. And guess what? The next time you need to add a new tag, it will be even quicker and less intimidating.
Bonus Tips to Make You Feel Like a Pro
Start with Simple Tags
When you're just getting started, keep it easy. Begin by setting up basic tags like Google Analytics or a Facebook Pixel. These standard tools are straightforward and offer a lot of benefits. Trying to add everything at once can make you feel overwhelmed. It's better to start small, get comfortable, and build up your skills over time. Plus, seeing your first tag fire correctly is a rewarding moment that gives you the confidence to try more. Simple first steps often lead to significant achievements, and GTM is no exception.
Use Folders
Once you add a few tags, things can get messy quickly. That's where folders come in handy. Organizing your tags into folders by platform or campaign makes it easier to manage everything. For example, you could have folders named "Analytics," "Ads," or "Marketing Campaigns." Keeping your workspace clean from the beginning saves time when managing dozens of tags. A little organization upfront means less time searching and more time focusing on what matters. Trust me, in the future, you will be grateful for the effort.
Set Naming Conventions Early
Choosing clear, simple names for your tags right from the start is key. If you label everything "Pageview" or "Click," you'll soon get lost when you have more than a few tags. It is better to name them by platform and purpose, like "GA4 - All Pages" or "FB Pixel - Purchase." It's a small habit but pays off massively as your account grows. When I skipped this step early on, I spent hours cleaning up my mess later. A little planning today saves you headaches tomorrow.
Always Test Before Publishing
No matter how sure you are, always test your tags before publishing. Simple mistakes, like missing a trigger, can cause big tracking problems. Preview mode is your best friend here. Spend an extra few minutes testing each tag to be sure everything fires correctly. It's much easier to fix issues than to explain missing data later. Trust your instincts, but double-check everything. This tiny habit will make you look like a professional, even if you're starting with GTM.
Setting up Google Tag Manager isn't just for tech experts. It's for anyone who wants more control and clarity when managing a website. Now that you've seen how straightforward it can be, you have every reason to start. The best part is the more you use it, the easier it becomes. Imagine tracking everything that matters to your business without waiting on anyone else.
FAQs
1. Is GTM free?
Yes, it is entirely free to use. All you need is a Google account, and you are ready to set up GTM for your website.
2. Can GTM slow down my site?
When used correctly, Google Tag Manager does not slow down your site. It often improves site performance by organizing your tags.
3. Do I need to know coding to use GTM?
No coding knowledge is needed to set up basic tags in Google Tag Manager. It is designed to be user-friendly.
4. What happens if I mess up?
The good news is that Google Tag Manager keeps version history. You can easily roll back to a previous version if needed.
5. How long does it take to set up GTM?
You can set up Google Tag Manager in 10 to 15 minutes if you follow the simple steps carefully.
Nach Verein filtern
Read More
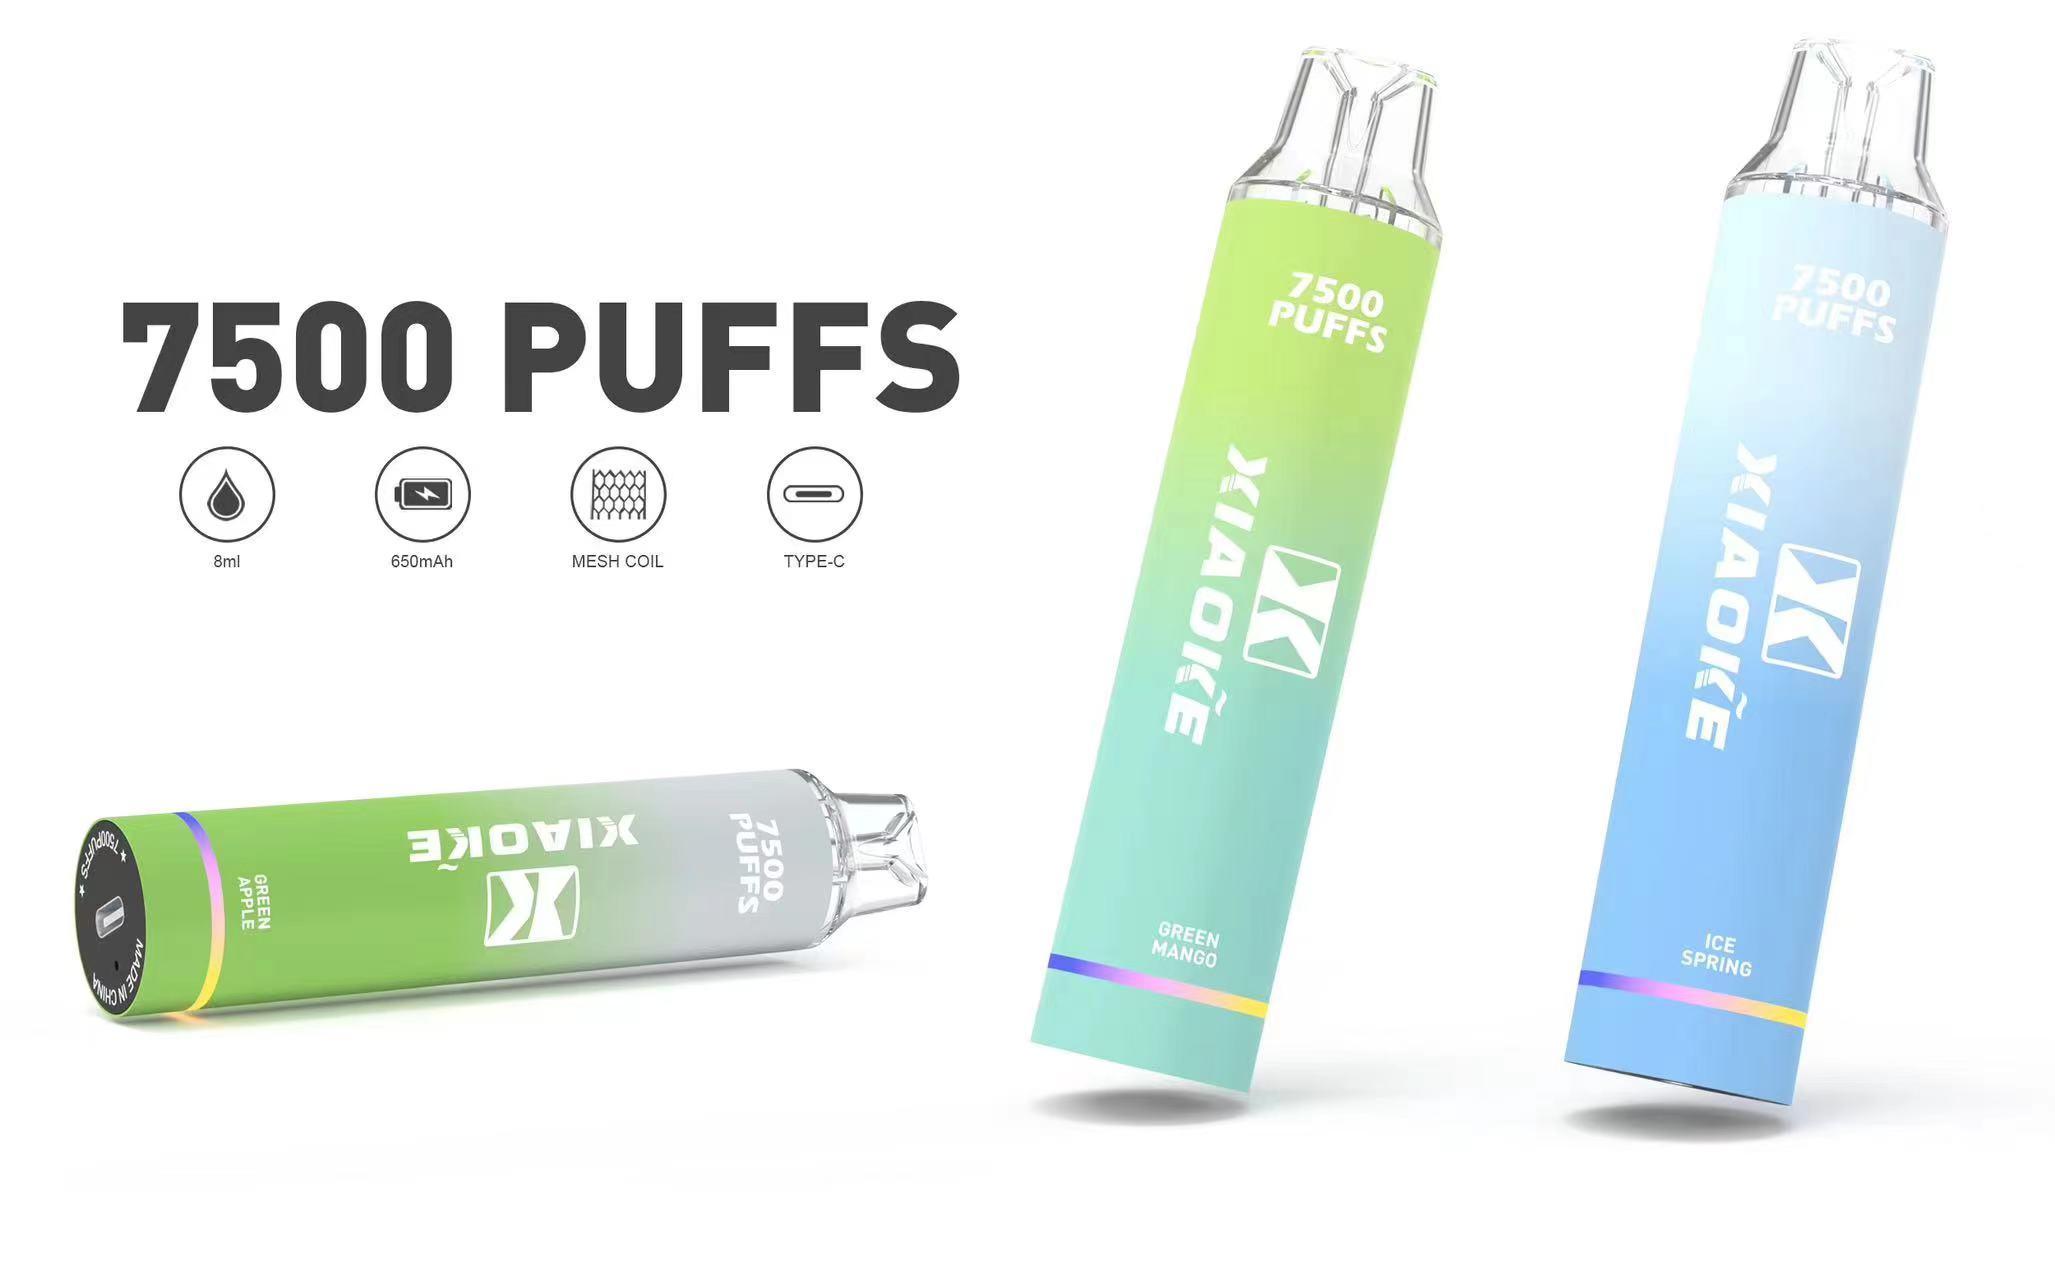
隨著電子煙市場的快速發展和科技的進步,一次性電子煙(或拋棄 式 電子 菸)因其便捷性和時尚設計,迅速成為許多吸菸者與電子煙用戶的首選。然而,一次性電子煙在提供便利的同時,也存在一些限制和問題。以下是一次性電子煙的便利性與限制的詳細介紹。 一次性電子煙的便利性 簡便易用:一次性小煙的設計目的是為了最大限度地提供便利。用戶無需進行任何複雜的設置或操作,只需拆開包裝即可使用。這對於初次使用電子煙的消費者尤其友好。 便攜性強:一次性電子煙通常體積小巧,例如ILIA BOX一次性電子煙 | 三代拋棄式電子煙重量輕便,便於隨身攜帶。無論是日常出行還是旅遊度假,都可以輕鬆攜帶,隨時隨地享受電子煙的樂趣。 無需維護:傳統的電子菸設備需要定期更換煙 彈、清潔和維護,而一次性電子煙完全免除了這些麻煩。用戶使用完畢後,只需丟棄即可,非常方便。...
When the chill of winter sets in, few things can rival the comfort of a Biddeford Blanket. Known for its quality, warmth, and innovative features, this electric blanket has become a beloved item in many homes. Whether you're snuggling up on the couch, enjoying a good book, or trying to stay warm during a cold night, the Biddeford Blanket promises to deliver unparalleled comfort and relaxation....

According to a new report by Univdatos Market Insights, the Botulinum Toxin Market is expected to reach USD 19 Billion in 2032 by growing at a CAGR of ~8.5%. Botulinum toxin, commonly known by its commercial names such as Botox, Dysport, and Xeomin, has long been a staple in aesthetic medicine for its ability to reduce the appearance of fine lines and wrinkles. Botulinum Toxin is...

Global Mobile Personal Emergency Response Systems Market - Overview, Size, Share, Industry Trends and Opportunities Global Mobile Personal Emergency Response Systems Market, By Device Type (Wireless, Cellular, GPS-Based), Component (Smoke Detectors, Bed Sensors, Fall Detection Sensors, Others), Subscription Model (Monthly, Annual, Others), End User (Home-Based Users, Senior Living...
The Mitsubishi Triton overflow bottle is an essential part of the vehicle's cooling system. It serves as a reservoir for excess coolant expelled from the radiator during engine operation. This component ensures that coolant is available to return to the radiator once the engine cools down, helping to maintain an optimal temperature. Proper functionality of the overflow bottle prevents...