Brother Approved: Convert JPG Images to VP3 in 5 Easy Steps
Introduction
Want to turn your favorite photos into embroidered masterpieces on your Brother machine? Convert JPG image to VP3 file (Brother's embroidery format) might sound technical, but it's surprisingly simple when you know the right steps.
In this guide, we'll walk through the entire process from image selection to final stitch-out, using methods that Brother embroidery specialists actually recommend. Whether you're making custom patches, personalized gifts, or decorative designs, these 5 steps will help you achieve clean, professional conversions every time.
Why Convert JPG to VP3?
Understanding VP3 Files
VP3 is Brother's proprietary embroidery format that:
• Contains precise machine instructions
• Preserves stitch quality and design integrity
• Supports Brother-specific features like:
-
Thread color matching
-
Optimal stitch sequencing
-
Built-in fabric compensation
Benefits Over Generic Formats
When you convert properly to VP3:
✔ Designs stitch more accurately
✔ Machine recognizes all functions
✔ Colors translate correctly
✔ Fewer errors during embroidery
What You'll Need
Essential Tools:
-
Brother embroidery machine (that reads VP3 files)
-
Image editing software (Photoshop, GIMP, or free alternatives)
-
Digitizing software (we recommend these Brother-compatible options):
-
PE-Design (Brother's official software)
-
Hatch Embroidery
-
Embrilliance
-
Ink/Stitch (free option)
-
-
Basic embroidery supplies (stabilizer, thread, needles)
Image Requirements:
For best results, your JPG should:
-
Be high resolution (300dpi or higher)
-
Have good contrast between elements
-
Use simple, bold shapes rather than fine details
-
Contain limited colors (6-8 ideal for beginners)
Step 1: Prepare Your JPG Image
Editing Essentials:
-
Crop to remove unnecessary background
-
Increase contrast to define edges
-
Simplify colors using posterize or threshold filters
-
Resize to fit your hoop dimensions
Pro Tip: Convert to black-and-white first if doing single-color embroidery - it helps the digitizing software detect edges better.
Common Mistakes to Avoid:
❌ Using low-resolution images (causes pixelation)
❌ Keeping complex backgrounds (creates messy stitches)
❌ Ignoring aspect ratio (distorts final design)
Step 2: Choose Your Conversion Method
Option A: Using Brother PE-Design
-
Open PE-Design and create new project
-
Import your prepared JPG
-
Use "Auto-Digitize" function
-
Manually adjust problem areas
-
Save as VP3
Option B: With Hatch Embroidery
-
Import JPG into Hatch
-
Run "Image to Stitch" wizard
-
Select "Brother VP3" as output
-
Fine-tune stitch settings
-
Export
Option C: Free Alternative (Ink/Stitch)
-
Open JPG in Inkscape
-
Trace bitmap to create vector
-
Use Ink/Stitch extension
-
Configure for Brother machines
-
Save as VP3
Step 3: Optimize the Digitized Design
Critical Adjustments:
-
Stitch Type Selection
-
Satin stitches for outlines
-
Fill stitches for large areas
-
Running stitches for details
-
-
Density Settings
-
0.35mm for delicate fabrics
-
0.45mm for standard materials
-
0.55mm for heavy fabrics
-
-
Underlay Options
-
Zigzag for general use
-
Edge run for crisp borders
-
Center walk for stability
-
Brother Pro Tip: Always add extra underlay when converting photos - it prevents puckering.
Step 4: Test Before Final Export
Quality Control Checklist:
-
Run on-screen simulation to check for errors
-
Stitch sample on scrap fabric
-
Verify:
-
Thread tension
-
Color accuracy
-
Registration alignment
-
-
Make necessary adjustments
Troubleshooting Common Issues:
Problem: Design stitches but looks distorted
Fix: Adjust pull compensation in software
Problem: Thread breaks frequently
Fix: Reduce stitch density
Problem: Colors don't match original
Fix: Reassign thread palette manually
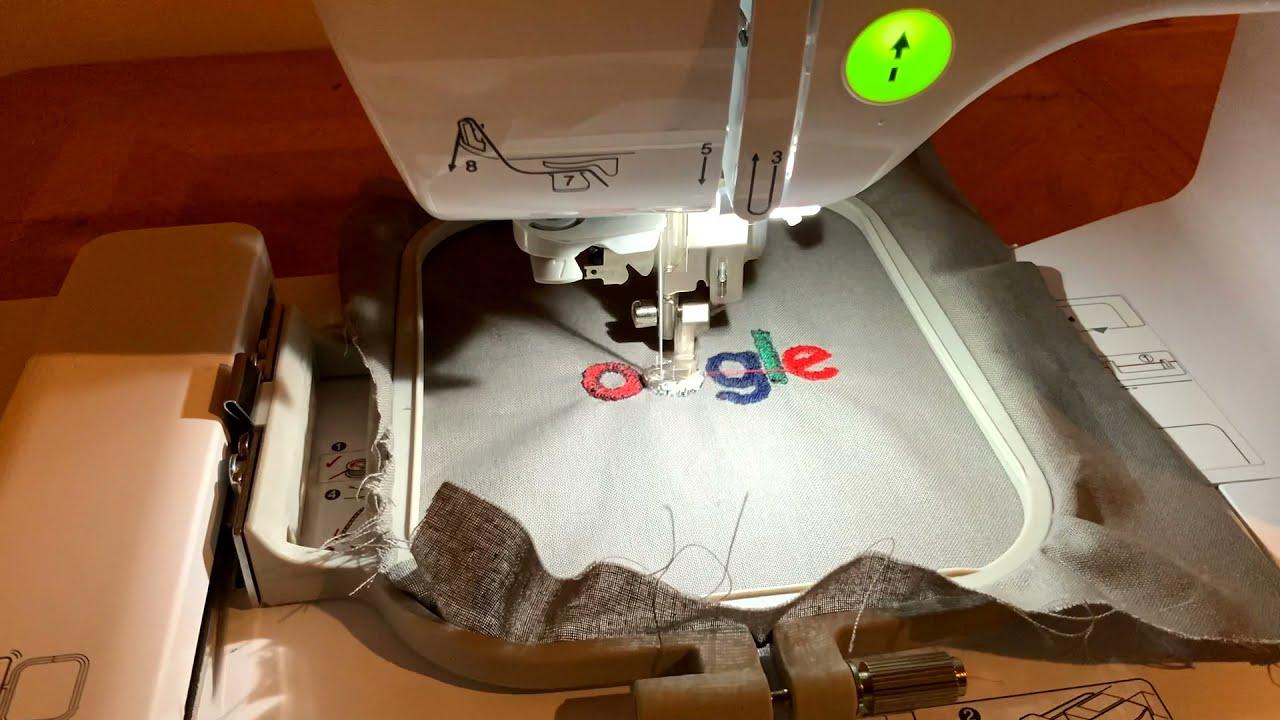
Step 5: Save as VP3 & Embroider
Final Export Settings:
-
Select "VP3" as file type
-
Choose correct hoop size
-
Include thread color information
-
Add any necessary machine commands
Transferring to Your Brother Machine:
-
Save to USB or direct connect
-
Load file into machine
-
Confirm design looks correct on preview
-
Start stitching!
Advanced Tips for Perfect Conversions
For Photorealistic Designs:
• Limit to 6-8 thread colors
• Use directional fills for shading
• Convert to halftone patterns first
For Text & Logos:
• Make letters slightly thicker than original
• Add outline compensation
• Use satin stitches for clean edges
For Multi-Hoop Projects:
• Create registration marks
• Number each section clearly
• Maintain consistent fabric tension
Recommended Software Comparison
| Software | Best For | VP3 Accuracy | Price |
|---|---|---|---|
| PE-Design | Brother users | ★★★★★ | $200-$600 |
| Hatch | Serious hobbyists | ★★★★☆ | $20-$99/month |
| Embrilliance | Small businesses | ★★★★☆ | $129-$999 |
| Ink/Stitch | Budget users | ★★☆☆☆ | Free |
Conclusion
Converting JPG images to VP3 files for your Brother machine doesn't require professional digitizing skills - just the right approach. By following these 5 steps (preparing your image, choosing conversion software, optimizing the design, testing thoroughly, and properly exporting), you'll create embroidery-ready files that stitch out beautifully every time.
Remember these key points:
• Start with high-quality, simplified images
• Brother machines work best with properly formatted VP3 files
• Testing on scrap fabric prevents costly mistakes
• Each design type (text, logos, photos) requires slightly different approaches
Your Brother machine is capable of amazing embroidery - now you can feed it perfect VP3 files made from any JPG image. Why not grab that special photo you've been wanting to embroider and give this process a try?